AusFindr Tracker Manual
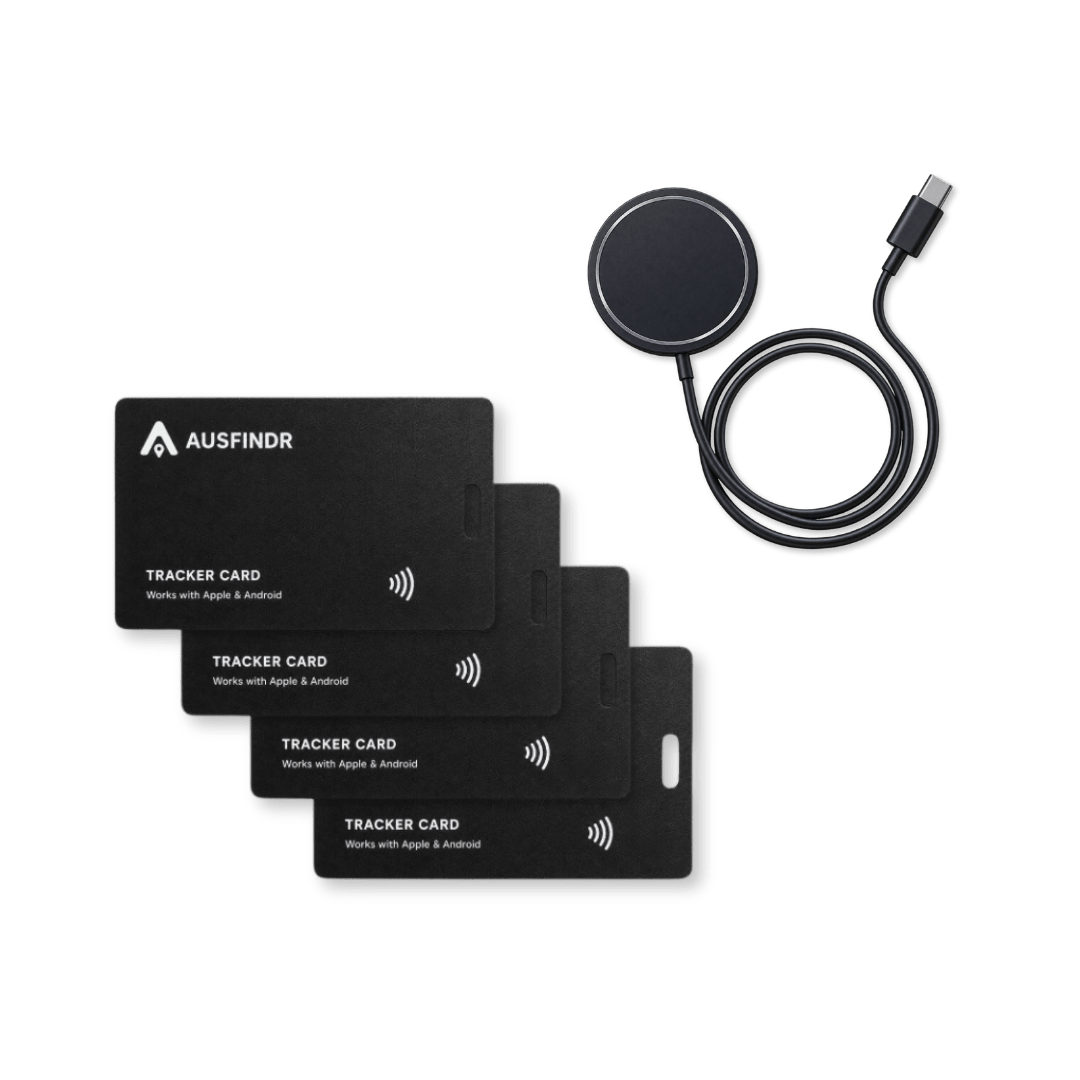
This guide covers both the AusFindr Tracker Card and Tracker Tag. Both are designed to be simple, reliable, and easy to use. Setup takes just a few minutes.
To get started, please follow the step-by-step instructions and videos below. They cover setup, resetting, charging or battery replacement, and answers to the most common questions.
If you run into any setup, connectivity, charging or battery issues, please follow the relevant instructions and videos first, as they resolve most common problems quickly.
If you still need help afterwards, please contact us and we’ll be happy to assist!
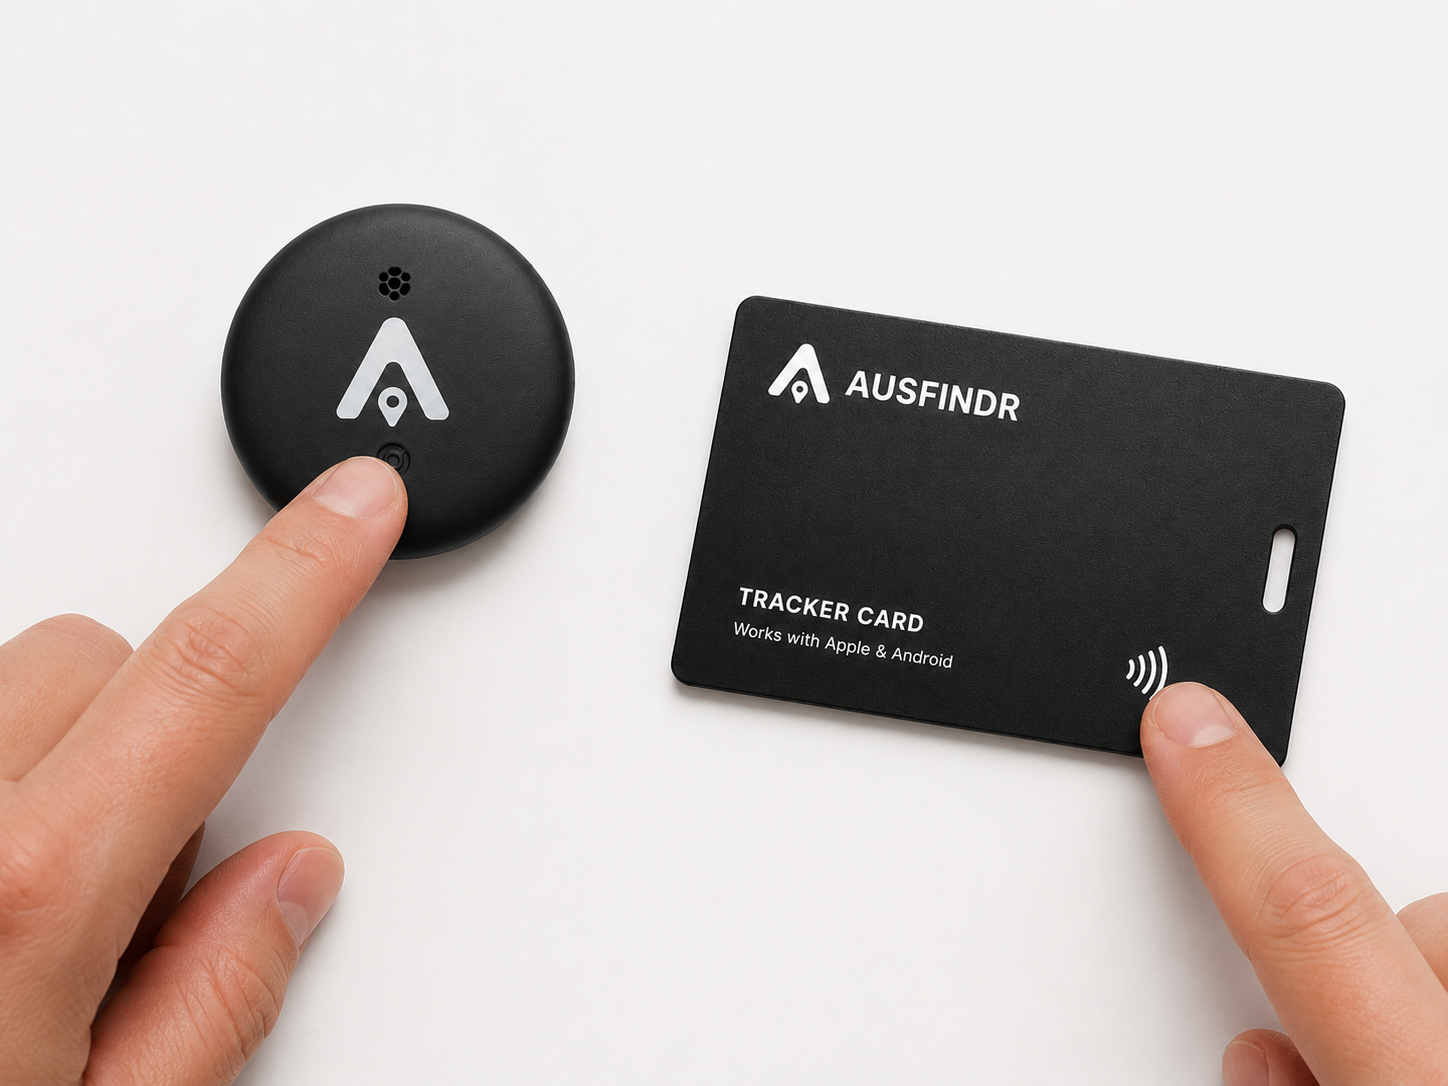
1: Activate the tracker
Press and hold the button on the card or the tag for two seconds. You’ll hear a chime when the tracker is ready to pair.
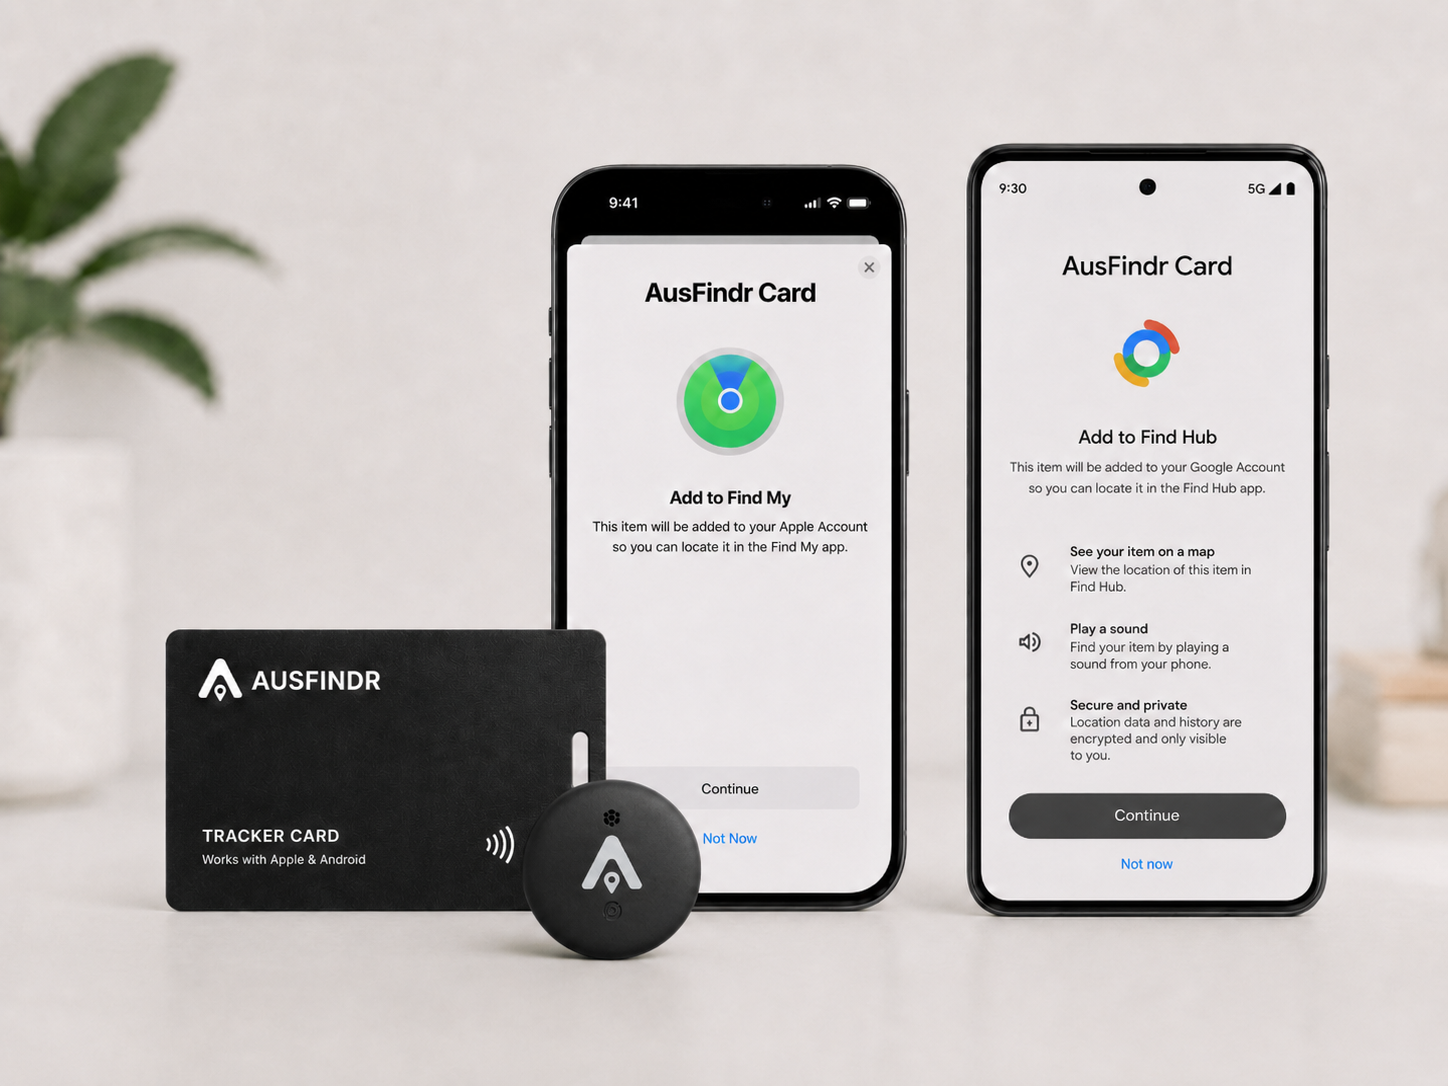
2: Add to your account
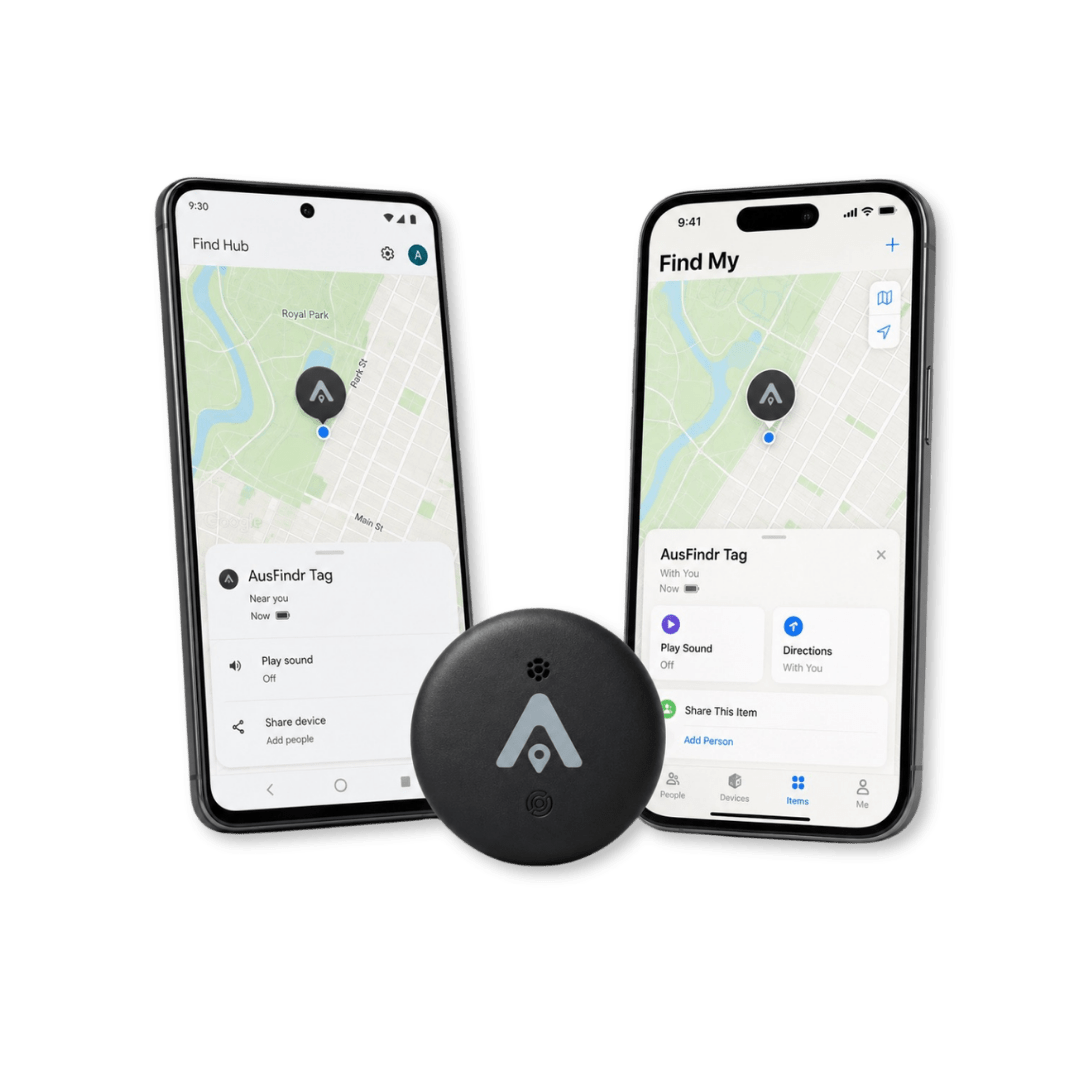
Open Apple Find My or Google Find Hub and follow the prompts to add your AusFindr. Give it a name, such as Wallet, Luggage or Keys.
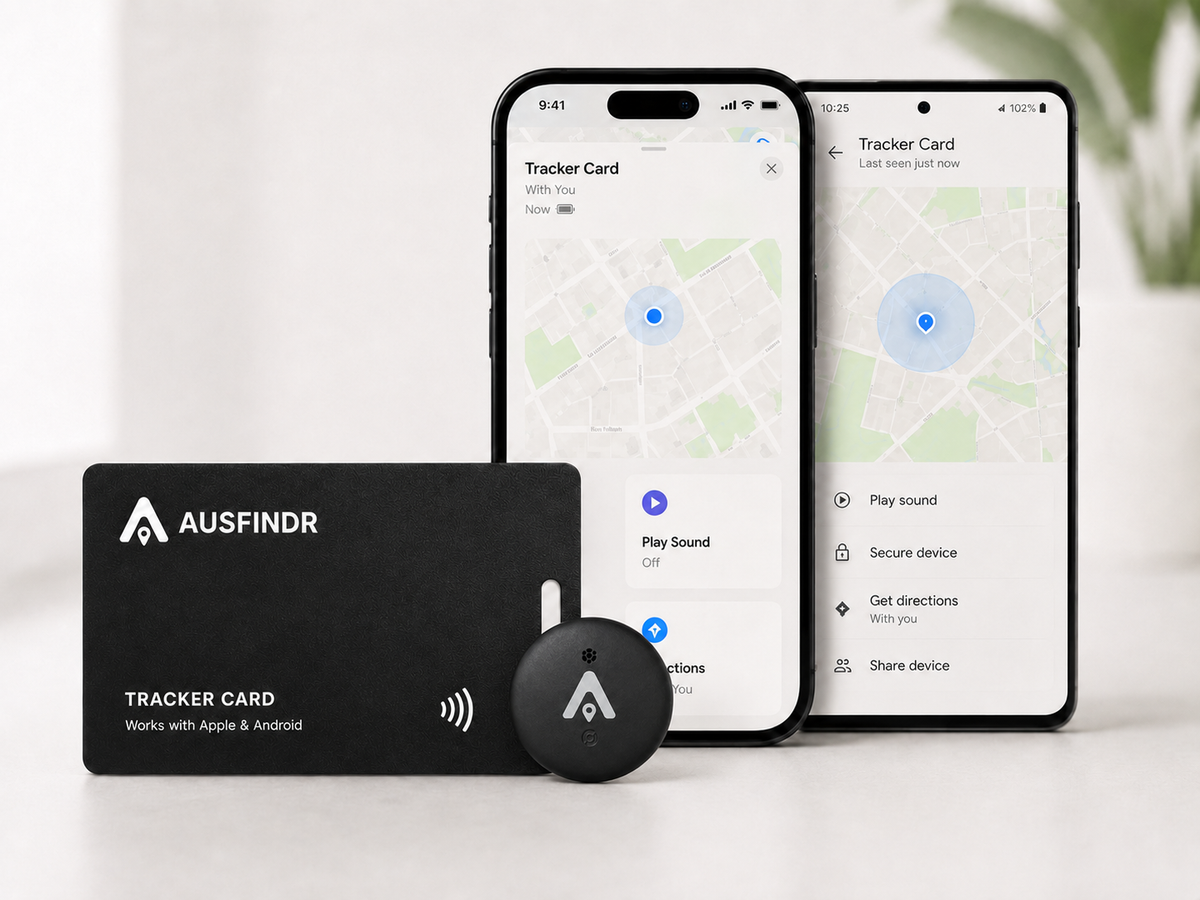
3: Track your item
Place the tracker in your wallet, luggage, bag or other item. Check the location from your phone, tablet or laptop.

4: Play sound or mark as lost
Use Find My or Find Hub to play a sound nearby or mark your item as lost.
Frequently asked questions and setup guides
Simple answers to help you set up, charge and use your AusFindr with confidence.
How do location updates with Apple Find My & Google Find Hub work?
Apple Find My and Google Find Hub use nearby Apple or Android devices to securely detect your tracker and update its location in the app.
For questions about the frequency and accuracy of location updates with Google Find Hub, please see this guide.
How do I charge the AusFindr card?
Place the card on a QI-certified wireless charger.
- Place the card slightly off-centre, as shown in the picture in the manual for your card; the charging coil is on the left side of the card.
- Please note that the card may not charge if it is placed directly in the centre of the charger.
Also see the Charging Guide below
Can it connect to Android and iOS at the same time?
The AusFindr works with both Apple Find My and Google Find Hub, but it can only be connected to one tracking network at a time.
You can choose either Apple or Android during setup. If you want to switch later, remove the card from the current app, reset the card, and then pair it with the other platform.
What do the audio signals mean?
- A chime means the tracker has been activated or successfully reset.
- A chime also plays when you use Play Sound to locate your item.
- Two beeps mean the tracker has been switched off. If you hear two beeps while resetting it, the reset was not completed.
How often will the location update?
Location updates are almost instant in busier areas, where more compatible phones are available to detect the tracker. In quieter areas, updates may take longer.
The tracker sends out a Bluetooth signal at regular intervals, but the location shown in Apple Find My or Google Find Hub may not update with every small movement. It is not a live GPS tracker. For example, if you walk only a short distance, the app may continue showing the previous location until the tracker is detected again and the network refreshes its position.
This is normal and helps preserve battery life. Updates are generally more frequent in shopping centres, supermarkets, city centres and other busy public areas.
To test the tracker, take it to a different location and allow a few minutes for the location to update. If it still does not refresh, check that:
- the tracker has sufficient charge;
- it has been set up correctly; and
- it is in an area where compatible devices are likely to pass nearby.
Updates may be less frequent if the tracker is in a quiet location, inside a signal-blocking bag or away from compatible devices. The tracker can only update its location when it is detected by a device participating in the relevant tracking network.
What if my tracker does not connect or seems unresponsive?
You can quickly resolve most setup issues by following the steps below.
If the tracker provides audio feedback when pressing the button, but does not connect to your phone:
1. Check if you have the latest version of the Apple/Google Find My app.
- Please ensure the phone's operating system (iOS for Apple or Android) is up to date.
- On iPhone, confirm you have the Find My app enabled
- On Android, confirm you have Find Hub installed (download here) and Find My Device settings enabled.
- Please follow the steps in 'Activate with Apple Find My/Activate with Google Find Hub'
2. Check the settings of your phone
Your phone needs the right settings turned on for the tracker card to connect properly.
- Bluetooth should be turned on
- Wi-Fi should be enabled
- Location Services should be turned on
- On Android, also make sure Find My Device / Find Hub are enabled (Settings → Google → All services → Devices → Scan for nearby devices). The Android tracker requires the Scan for nearby devices setting to be on, not just Bluetooth.
- Even if you are not connected to Wi-Fi, having Wi-Fi enabled can still help with location and discovery.
3. Turn your phone on and off
If the tracker still isn't connecting, restart your phone, then try the setup again. This can help refresh Bluetooth, location services and background processes that may be interfering with the connection.
If you have checked the steps above and your tracker still won't connect, reset the card using the instructions below. A reset resolves most connectivity issues and usually only takes a minute.
If the tracker seems unresponsive
For Tracker Cards: confirm the card is charged
If a card is unresponsive, this can be caused by a low or flat battery. Although our cards come pre-charged, every card is tested before shipping, so sometimes one may arrive with a low or flat battery.
- Place the card on a wireless charger.
- Place the card slightly off-centre, as shown in the picture in the manual for your card; the charging coil is on the left side of the card.
- Please note that the card does not charge if it is placed directly in the centre of the charger.
For Tracker Tags: confirm the battery is placed correctly
An incorrectly placed battery can make the tag unresponsive. Please follow the steps for replacing the tag battery to open the tag and realign the battery.
If you have confirmed the battery status and your tracker still won't connect, reset the card using the instructions below.
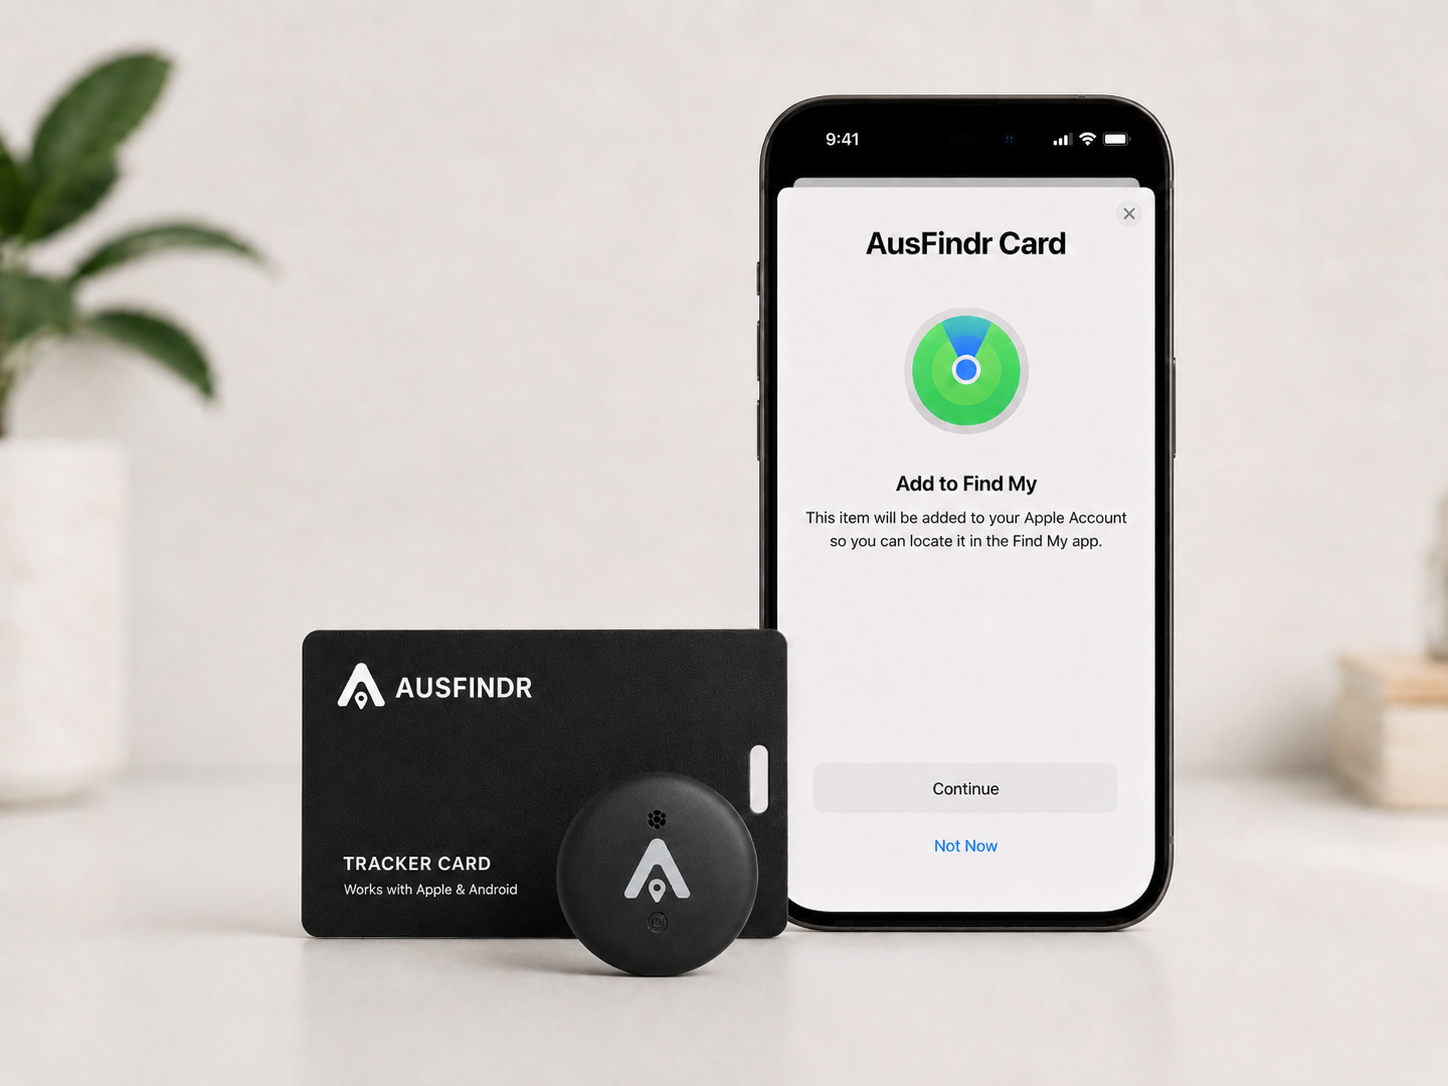
Activate with Apple Find My
- Press the ))) icon on the card to activate it. For the tag, press the button in the centre. You’ll hear a short chime when it’s ready.
- Open the Find My app on your iPhone.
- Tap Items.
- Tap Add Item.
- Select Other Supported Item.
- Wait for a device name 'Smart Card xxx' or 'Wireless Tag' to appear.
- Tap Connect and follow the on-screen instructions.
- Name your tracker and choose an icon.
- Once added, your AusFindr will appear in the Items tab.
If Apple Find My doesn't discover the tracker, follow the steps in ‘What if my tracker does not connect or is unresponsive?’ in the FAQ above.
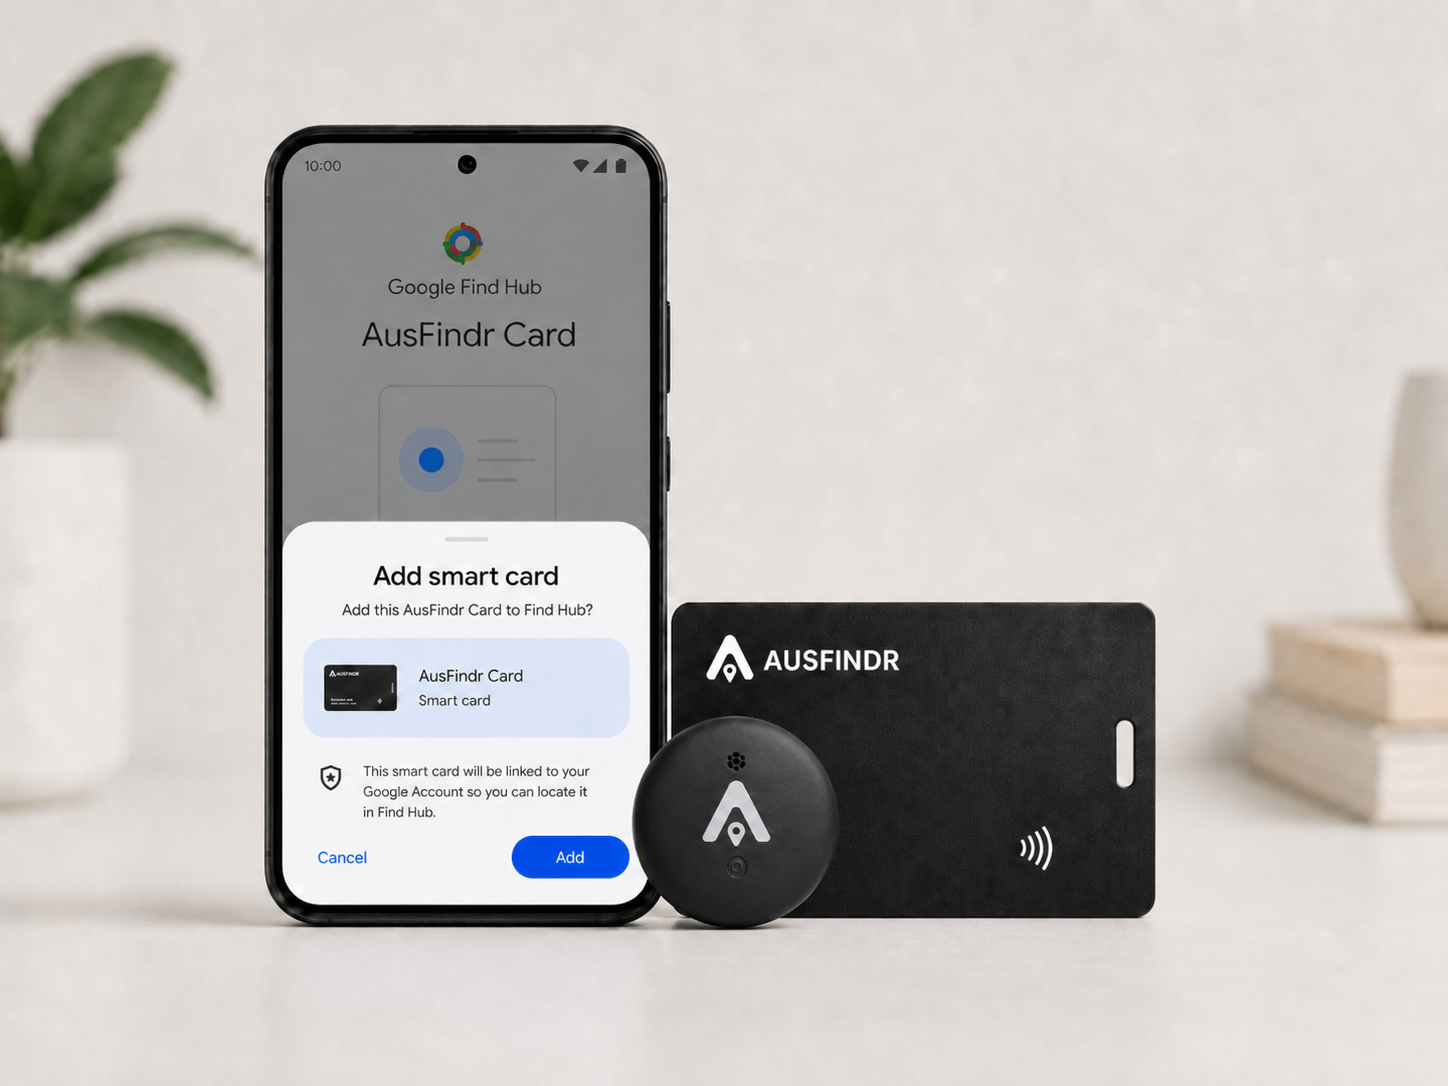
Activate with Google Find Hub
If Google Find Hub is not installed on your phone, you can download it here.
- Press the ))) icon on the card to activate it. For the tag, press the button in the centre. You’ll hear a short chime when it’s ready.
- A pop-up to connect the card appears on your phone.
- Tap Connect or Add and follow the on-screen instructions.
- Follow the prompts to complete pairing.
- Name your tracker and choose the item type.
If the pop-up does not appear, please watch this video showing the correct phone settings. Make sure your settings are correct, Bluetooth and Wi-Fi are turned on, then restart your phone.
If you still don't see a pop-up, follow the steps in ‘What if my tracker does not connect or is unresponsive?’ in the FAQ above.
Resetting the AusFindr
If your tracker does not connect or appears unresponsive, please perform a reset - this typically resolves any pairing issues.
- Open Apple Find My or Google Find Hub .
- Select your AusFindr from the list of items/devices.
- Open the card or tag settings or details page.
- Scroll down and select Remove Item, Remove Device, or Remove from Find Hub.
Reset the tracker
- Make sure the tracker is charged and turned on.
- Press the button five times in rapid succession.
- On the fifth press, hold the button down.
- Keep holding until you hear the chime.
- The tracker has now been reset and is ready to pair again.
If you hear two beeps instead of the chime, the card has been deactivated, but the reset has not been completed. If this happens, please follow the steps again and watch the video below while you try. The reset is only complete when you hear the chime.
A tracker can only be connected to one account at a time. If it was previously paired, it must be removed from the original account before it can be added to a new phone.

Ausfindr Card charging guide
- The cards come partially pre-charged. We recommend fully charging your card before first use.
- To recharge the card, place it flat on a wireless charger. If you purchased a charger with your card, it has already been tested for compatibility. If using your own charger, ensure it is Qi-certified to avoid compatibility or charging issues.
- Place the card slightly off-centre, as shown in the picture below; the charging coil is on the left side of the card. Please note that the card will not charge if it is placed directly in the centre of the charger.
- When placed on a wireless charger, a small red LED will appear on the card. It takes about 60-120 minutes to charge the battery. The red LED will turn off once charging is completed.
- A full charge provides 5-6 months of battery life under normal use.
- The battery status is shown in the Find app when you click on your tracker.
Not sure how to align the card to the charger? Please watch this video.
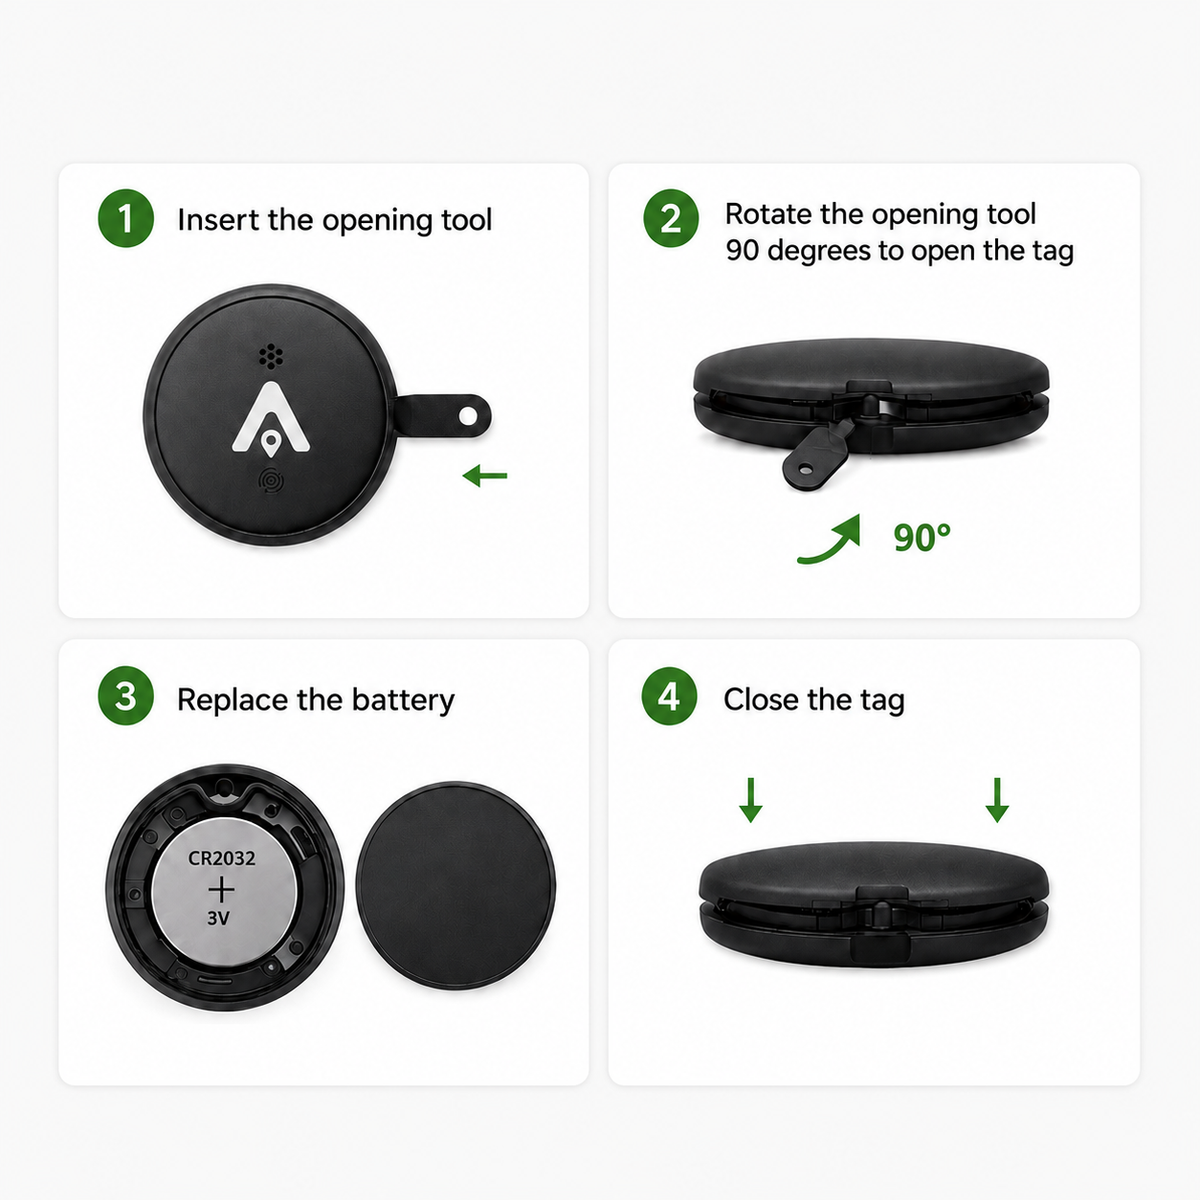
AusFindr Tag Battery
The tracker tag uses a CR2032 3V lithium coin battery. To replace the battery:
- Insert the supplied opening tool.
- Rotate approximately 90°.
- Lift the cover.
- Replace the battery with the positive (+) side facing up.
- Refit the cover and rotate closed.
Typical battery life is up to 1 year, depending on usage.
⚠️ WARNING – BATTERY HAZARD
Keep out of reach of children. If swallowed, a lithium coin battery can cause severe or fatal injuries. If you suspect a battery has been swallowed, seek immediate medical attention.
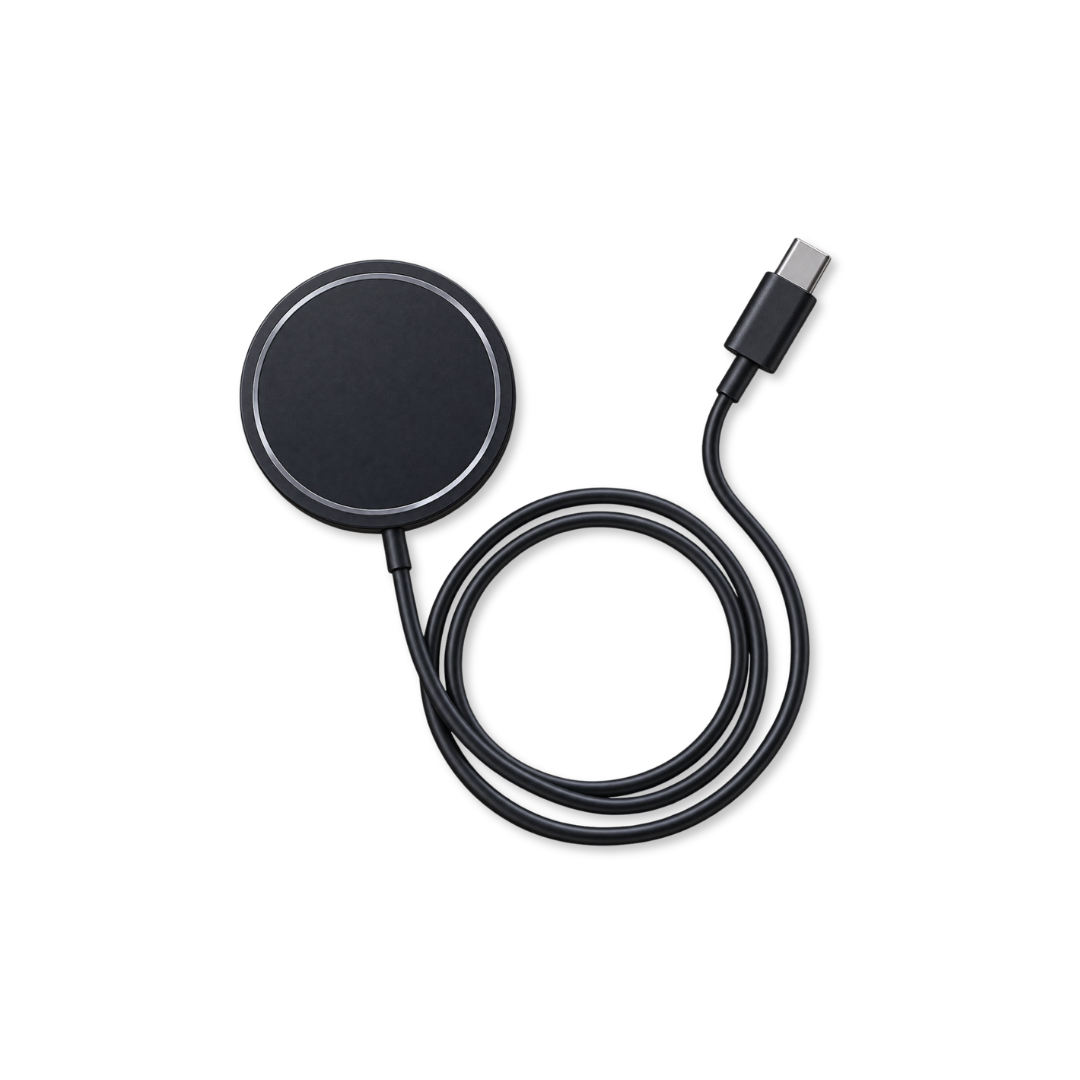
Wireless Charger
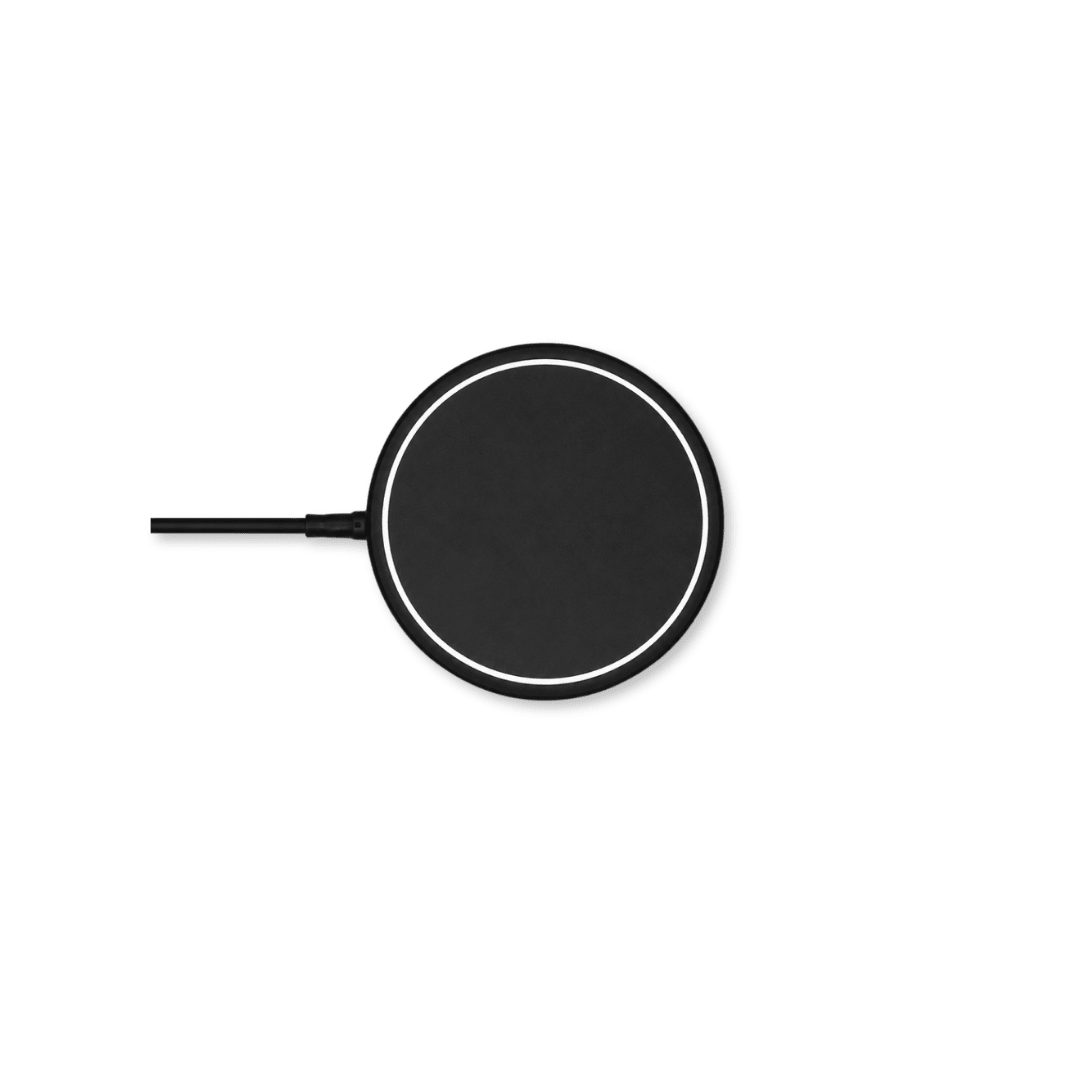
- Connect the USB end of the cable to a USB wall adapter or a powered USB port.
- Place your device on the charging surface.
Charging the AusFindr Card
- Place the card slightly off centre, as shown in the picture in the charging guide.
- The charging coil is located on the left side of the card, so the card may not charge if it is placed directly in the centre of the charger.
We recommend using a USB power source of at least 5V/2A. Some low-power USB ports, such as those on computers, laptops, or older wall adapters, may not provide enough power. A standard USB wall plug connected to a power socket usually works well. For faster charging, use a USB-C power adapter.
Still need help?
We’re here to assist. You’ll usually receive a quick response, and always within one business day.
Before contacting us, please check the relevant section of the guide, as most issues can be resolved quickly by following the troubleshooting steps.
Discover More AusFindr Products