Skip to content
Sign up for a 10% discount
Fast Delivery & 2-year warranty
The Australian Dual Network Tracker Card

Tracker Card Manual

This tracker card is designed to be simple, reliable, and easy to use. Setup takes just a few minutes, and once connected, it helps you keep track of your valuables using your phone’s built-in tracking network with no subscriptions or complicated settings.

To activate your card, or if you need help at any stage, please start with the setup and troubleshooting guide for your specific card. The guide covers the most common questions, including setup, resetting, and charging.

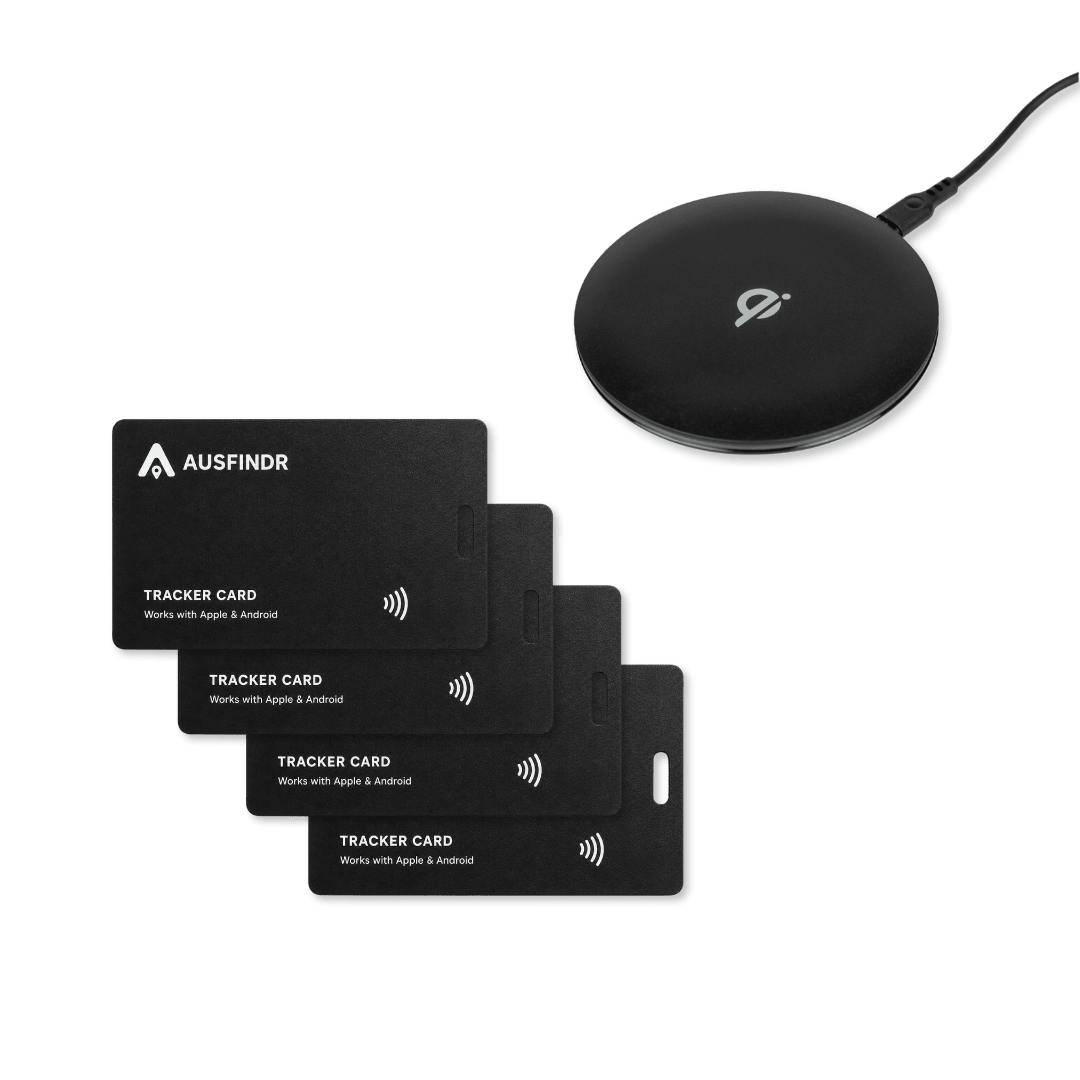
In case you run into any issues, most connectivity problems can be fixed with a reset, and charging issues are usually caused by the card not being aligned correctly on the charging pad. The guides include clear step-by-step instructions to help you get your card working quickly.

Set up your AusFindr Card in just a few minutes. Activate the card, add it to Apple Find My or Google Find Hub, and start keeping track of your wallet, luggage, bag or everyday essentials.

Simple steps to use the card the first time

  • Black tracker card with 'Ausfinder' branding on a white background

    1: Activate the card

    Press the button once to turn on your AusFindr Card. You should hear a beep, which means the card is ready to pair.

  • 2: Add to your account

    Open Apple Find My or Google Find Hub and follow the prompts to add your AusFindr Card. Once connected, it will appear in your list of items.

    Ausfinder tracker card and smartphone app interface on a white background
  • Black tracker card with 'Ausfinder' branding inside an open black wallet.

    3: Track your item

    Place the card in your wallet, luggage, bag or other item. You can then check its location from your phone whenever you need to find it.

  • 4: Play sound or mark as lost

    When the card is nearby, you can play a sound to help find it quickly. If your item is further away, use the app to view its location or mark it as lost.

    Dual Tracker Card AusFindr
Simple answers to help you set up, charge and use your AusFindr Card with confidence.

Frequently asked questions and setup guides

1. Make sure your phone supports the tracking network used by your card.

  • Apple cards require an iPhone with the Find My app enabled
  • Android cards require a compatible Android phone with Find Hub installed (download here) and Find My Device settings enabled
  • Please ensure the phone operating system (iOS for Apple or Android) is up to date.

2. Check the settings of your phone

Your phone needs the right settings turned on for the tracker card to connect properly.

  • Bluetooth should be turned on
  • Wi-Fi should be enabled
  • Location Services should be turned on
  • On Android, also make sure Find My Device / Find Hub are enabled (Settings → Google → All services → Devices → Scan for nearby devices). The Android tracker requires the Scan for nearby devices setting to be on, not just Bluetooth.
  • On iPhone, make sure Find My is enabled
  • Even if you are not connected to Wi-Fi, having Wi-Fi enabled can still help with location and discovery.

3. Confirm the card is charged

A low battery can cause the card to fail to connect properly or even become unresponsive.

  • Place the card on a wireless charger. 
  • Place the card slightly off-centre, as shown in the picture in the manual for your card; the charging coil is on the left side of the card. 
  • Please note that the card may not charge if it is placed directly in the centre of the charger.

4. Turn your phone on and off

If the card still is not connecting, restart your phone and then try the setup again. This can help refresh Bluetooth, location services and background processes that may be interfering with the connection.

If you have checked the steps above and your card is still not connecting, reset the card using the instructions below. A reset resolves most connectivity issues and usually only takes a minute.

Place the card on a wireless charger. 

  • Place the card slightly off-centre, as shown in the picture in the manual for your card; the charging coil is on the left side of the card. 
  • Please note that the card may not charge if it is placed directly in the centre of the charger.

Also see the Charging Guide below

The AusFindr Card works with both Apple Find My and Google Find Hub, but it can only be connected to one account at a time.

You can choose either Apple or Android during setup. If you want to switch later, remove the card from the current app, reset the card, and then pair it with the other platform.

The tracker card sends out a Bluetooth signal every few minutes, but the location in Find Hub / Find My may not update instantly or with every short movement. It is not a live GPS tracker. If you walk a short distance, such as to the end of the street, the app may continue showing the previous location for a while before refreshing. This is normal and helps preserve battery life. The location should update once the card is detected again and the app/network refreshes the location. Updates are more frequent in areas with more phones to detect the card.

To test the card, take it with you to another location, such as a shopping centre, supermarket or busy public area, and check whether the tracker’s location updates after a few minutes.

If the location is not updating after a few minutes or in a different spot, please check the following:

  • the card has enough charge
  • the card has been set up correctly
  • the card is in an area where nearby compatible devices are likely to pass by

If the card is in a quiet area, inside a signal-blocking bag, or not near compatible devices, location updates may be less frequent. The card can only update its location when it is detected by a device that is part of the network.

Please use the contact form on this page

Phone displaying the Ausfinder app with a black tracker card on a white surface.

Activate with Apple Find My

  1. Press the button on the card once to turn it on. You should hear a beep.
  2. Open the Find My app on your iPhone.
  3. Tap Items.
  4. Tap Add Item.
  5. Select Other Supported Item.
  6. Wait for AusFindr Card to appear.
  7. Tap Connect and follow the on-screen instructions.
  8. Name your card and choose an icon.
  9. Once added, your AusFindr Card will appear in the Items tab.
Smartphone displaying the AusFindr app with a tracker card on a light background

Activate with Google Find Hub

  1. Press the button on the card once to turn it on. You should hear a beep.
  2. A pairing pop-up may appear on your Android phone.
  3. Tap Connect or Add and follow the on-screen instructions.
  4. If no pop-up appears, open the Google Find Hub app.
  5. Tap Add device or Add item.
  6. Select your AusFindr Card when it appears.
  7. Follow the prompts to complete pairing.
  8. Name your card and choose the item type.
Black tracker card with 'Ausfinder' branding on a white background

Resetting the card

Before resetting your AusFindr Card, remove it from your account.

  1. Open the Apple Find My or Google Find Hub app.
  2. Select your AusFindr Card from the list of items/devices.
  3. Open the card’s settings or details page.
  4. Scroll down and select Remove Item, Remove Device, or Remove from Find Hub.

Reset the card

  1. Make sure the card is turned on.
  2. Press the button five times.
  3. On the fifth press, hold the button down.
  4. Keep holding until you hear the confirmation sound.
  5. The card has now been reset and is ready to pair again.

A card can only be connected to one account at a time. If it was previously paired, it must be removed from the original account before it can be added to a new phone.

Tracker card alignment on charger

Charging guide

  • The cards come partially pre-charged; we recommend charging the card before first use.
  • To recharge the card, place it flat on any Qi or MagSafe-compatible wireless charger.
  • Place the card slightly off-centre, as shown in the picture below; the charging coil is on the left side of the card. Please note that the card will not charge if it is placed directly in the centre of the charger.
  • When placed on a wireless charger, a small red LED will appear on the card. It takes about 60-120 minutes to charge the battery. The red LED will turn off once charging is completed.
  • A full charge provides up to 5 months of battery life under normal use.
  • The battery status is shown in the Find app. 

Followed the guide but still have questions?

We are ready to help!

You can expect a quick response, usually instant and always within one business day!

Ausfinder tracker card and smartphone app interface on a white background